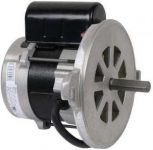


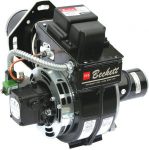
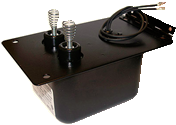
Part #1390
Beckett Burner
EVS502
12 – 14V ADC Burner
with GeniSys Burner Control
For Heaters Up To 6 GPM
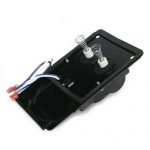
Part #1391
Beckett Burner
EVS103
12 – 14V SDC Burner
with GeniSys Burner Control
For Heaters Over 6 GPM
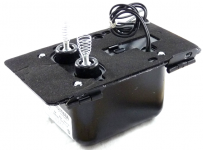
Part #1393
Beckett Burner
EVS302
AFG Burner
115 Volt 60 hz
For Heaters Up To 6 GPM
Part #1394
Beckett Burner
EVS702
SF Burner
115 Volt 60 hz
For Heaters Over 6 GPM
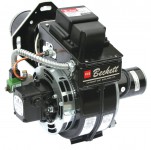
12-volt burners run off of your pressure washer battery and your engine has to keep that battery fully charged in order for the burner to function properly. You will notice that there are 2 12-volt burners. The ADC series is to be used with machines pumping no more that 6 gallons of water per minute. They can be used on higher GPM machines but don’t expect the water to get near as hot – maybe around 150 degrees on a 10 GPM machine. If you have a higher GPM machine then you will need an SDC burner to get water in the temperature range of 200 degrees.
Here is the problem that many contractors get themselves into. The engine battery recharging system when using the ADC burner must be at least 18 amps and for the SDC burner the recharging system must be at least 25 amps. Anything less and not only will your burner be smoking most of the time but you will be destroying many of the workings of the burner simply because you are not supplying enough 12-volt electricity to the burner.
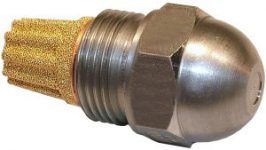
Also note that the ADC burner cannot handle a fuel nozzle greater than a 2.50 nozzle which is 2.5 gallons of fuel per hour while the SDC burner can handle up to 4 gallons of fuel per hour with a 4.00 GPH nozzle.
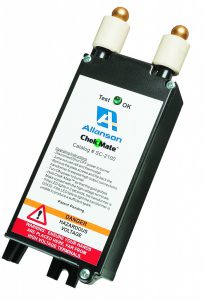
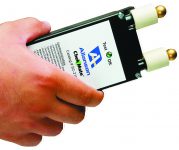
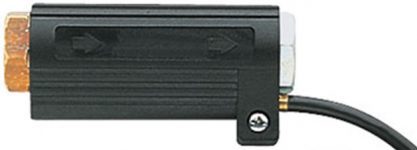
Chek-Mate makes service calls quick & easy. Just touch the high voltage spheres to the contacts of any brand of ignitor or transformer and the green LED lights up if the unit is good.

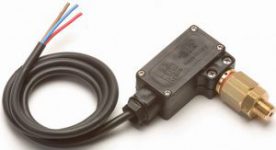
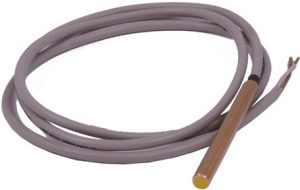
Part #1107
Hi-Limit Switch
Shuts Down Fuel Flow If Water Reaches 230 Degrees Never Use Hi-Limit Switch In Place Of A Thermostat


 Part #1366